Ever had that sinking feeling halfway to work? That nagging little voice in the back of your head whispering, “Did I lock the front door?” It’s a universal moment of panic that can sour your whole morning. What if I told you there’s a simple, digital solution to banish that worry forever? Learning How To Enable Auto Lock Feature on your smart lock is more than just a cool tech trick; it’s your first step towards a truly secure and stress-free home. It’s like having a personal security guard who never forgets, never gets distracted, and never takes a day off.
For those new to the smart home world, the concept of a door locking itself might seem like something out of a sci-fi movie. But in reality, it’s an incredibly practical feature that’s becoming a standard for modern home security. Before you can truly appreciate this convenience, it helps to understand the foundational steps of getting your device up and running. For a deeper dive into the initial setup, exploring a guide on how to install a smart lock step by step provides a comprehensive look at the process from start to finish.
What is the Auto-Lock Feature, Really?
At its core, the auto-lock feature is exactly what it sounds like: it’s a setting that automatically locks your door after a predetermined amount of time. Instead of you having to remember to turn the deadbolt or press a button, the lock does the work for you. Think of it as a digital safety net. You walk in with your arms full of groceries, and while you’re putting away the milk, your door quietly secures itself behind you.
This simple function is powered by a combination of sensors and a timer within the smart lock’s firmware. Most modern smart locks use one of two methods:
- A Simple Timer: This is the most common method. Once the lock is unlocked, a countdown begins. When the timer hits zero—whether it’s 30 seconds or 5 minutes—the motor engages and throws the deadbolt.
- Door Sensors: More advanced locks come with a small sensor (like a DoorSense™ sensor) that you install on the door frame. This tells the lock whether the door is actually closed. The auto-lock timer will only start after the sensor confirms the door is shut, preventing the deadbolt from extending into thin air.
This feature is the cornerstone of “set it and forget it” home security, and it’s a game-changer for busy families, forgetful individuals, and anyone who values peace of mind.
A Step-by-Step Guide on How to Enable Auto-Lock Feature
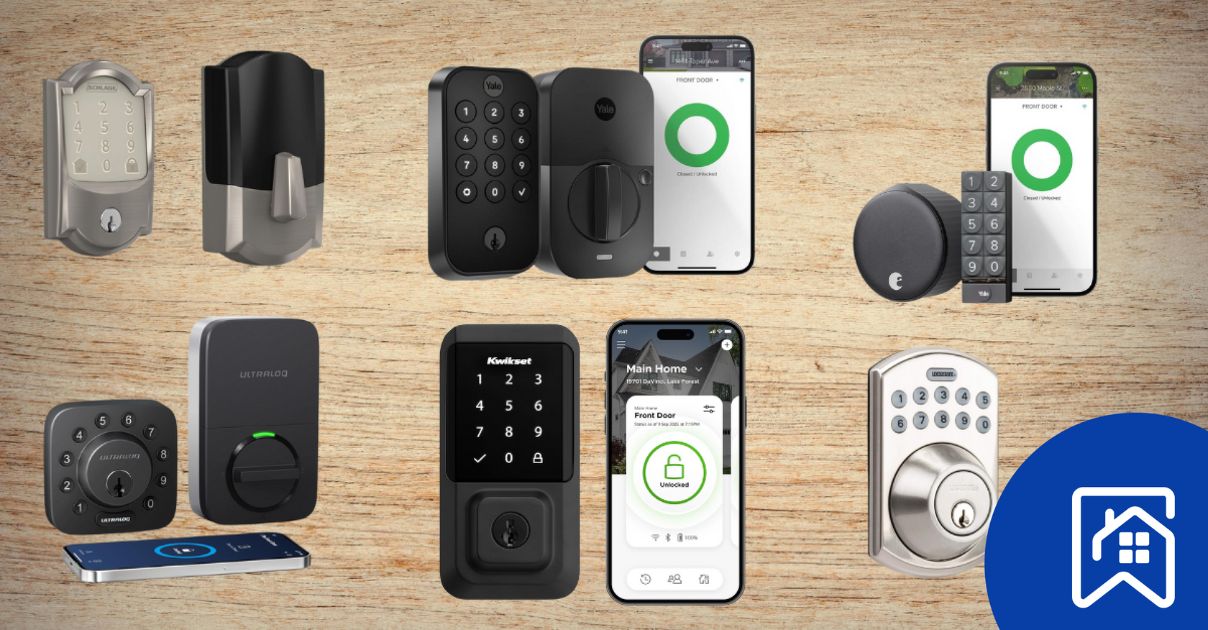
Ready to activate your home’s new best friend? While the exact menu names might vary slightly between brands like August, Schlage, or Yale, the process is remarkably similar across the board. Here’s a general guide that will get you 99% of the way there.
- Open Your Smart Lock’s Companion App
Your smart lock is controlled through a dedicated app on your smartphone. Find the app for your brand (e.g., August Home, Schlage Home, Yale Access) and open it. Make sure you are logged in and your phone is connected to the internet. Proximity to the lock via Bluetooth is often required for changing settings. - Navigate to the Correct Lock and Settings
If you have multiple smart devices, select the specific lock you want to configure from the main screen. Once you’re on the control page for that lock, look for a settings icon, which is often represented by a gear (⚙️) or three dots (…). Tap it to enter the lock’s settings menu. - Find the “Auto-Lock” Option
Inside the settings menu, you’ll likely see a list of options like “Users,” “Notifications,” and “Smart Alerts.” Scroll through this list until you find an option labeled “Auto-Lock,” “Lock Settings,” or “Timer to Lock.” This is the command center for the feature. - Enable the Feature and Set Your Timer
Tap on the auto-lock option. You’ll usually see a toggle switch to turn the feature on or off. Tap it to the “On” position. Below the toggle, you will find options to set the delay timer. Common choices range from an immediate lock to 30 seconds, 1 minute, 5 minutes, or even up to 30 minutes. - Save and Test Your New Setting
Once you’ve selected your desired time delay, make sure to save the changes. The app should confirm the setting has been updated. Now for the fun part: test it! Unlock your door using the app, then wait. Watch as your lock magically secures itself after the specified time. That satisfying thunk of the deadbolt is the sound of modern security at work.
Customizing Your Auto-Lock for Real Life
Learning how to enable auto lock feature is just the beginning. The real magic lies in tailoring it to your lifestyle. A one-size-fits-all approach doesn’t work for security.
How Long Should the Delay Be?
Choosing the right time delay is a balance between security and convenience.
- 30 Seconds to 1 Minute: Ideal for those who want maximum security. This ensures the door is locked almost immediately after you enter or exit, leaving a very small window of vulnerability. It’s perfect if you typically come straight in and don’t linger at the doorway.
- 3 to 5 Minutes: This is a great middle ground. It gives you enough time to bring in multiple bags of groceries, say a long goodbye to a guest, or wrangle kids and pets without the door locking you out prematurely.
- 10 Minutes or More: This is useful for situations where you might be going in and out frequently over a short period, like when you’re unloading the car after a long trip or doing yard work near the front door.
As Smart Home Security Analyst, Michael Vance, often notes, “The most common mistake people make is setting the auto-lock timer too short. They prioritize instant security but forget about practical convenience. An overly aggressive timer can lead to frustrating lockouts. I always advise starting with a 3-minute delay and adjusting from there based on your family’s actual daily routines.”
What About Geofencing and Auto-Unlock?
Many smart locks pair the auto-lock feature with an auto-unlock feature, often powered by geofencing. This uses your phone’s GPS to detect when you’re approaching home. As you get close, it can automatically unlock the door for you, creating a seamless, hands-free entry. When you leave and cross that digital fence, it can trigger the auto-lock. This combination offers the ultimate hands-off experience.
Common Troubleshooting for the Auto-Lock Feature
Sometimes, technology has a hiccup. If your auto-lock isn’t behaving as expected, here are a few things to check before calling support.
- Is the door sensor aligned? If your lock uses a physical sensor, make sure it’s properly installed and aligned with the magnet on the door frame. A misaligned sensor won’t know the door is closed and will prevent auto-lock from engaging.
- Are the batteries low? Smart lock motors require a good amount of power. If your batteries are nearing the end of their life, the lock might disable power-intensive features like auto-lock to conserve energy for basic operation.
- Is the firmware updated? Manufacturers regularly release firmware updates to fix bugs and improve performance. Check your app to see if there’s an update available for your lock.
- Is the deadbolt catching? Sometimes, a misaligned door can cause the deadbolt to rub or catch on the strike plate. If the lock’s motor feels too much resistance, it may fail to lock and send you an error notification.
While features like auto-lock are powerful tools for physical security, it’s equally important to consider the digital side of the equation. A secure smart lock is a holistic system. To gain a complete understanding of protecting your device from digital threats, reviewing information on how to secure smart lock against hacking can provide crucial insights and best practices.
Frequently Asked Questions (FAQ)
Can I temporarily disable the auto-lock feature?
Yes, absolutely. Every smart lock app allows you to toggle the auto-lock feature on and off. This is perfect for when you’re hosting a party and have guests coming and going, as it prevents the door from locking repeatedly.
Does the auto-lock feature drain the battery faster?
Yes, it does, but the impact is generally minimal. The motor engaging is what uses the most power, so the more frequently the door auto-locks, the more battery it will consume. However, most smart lock batteries are designed to last for many months, even with auto-lock enabled.
What happens if the door isn’t fully closed when the auto-lock timer goes off?
If you have a lock with a door sensor, it simply won’t lock. It knows the door is ajar and will wait until it’s fully closed. If your lock only uses a timer, it will try to lock. The deadbolt will extend and hit the door frame, and the lock will typically send an error notification to your phone to let you know the attempt failed.
Can I get a notification on my phone every time the door auto-locks?
Yes. Most smart lock apps have a robust notification system. You can usually configure it to alert you whenever the door is locked or unlocked, including when it’s done automatically by the auto-lock feature.
Is the auto-lock feature itself secure?
The feature is very secure. The commands are sent locally from the lock’s internal firmware. It doesn’t rely on an internet connection to function, so it will work even if your Wi-Fi is down. The security of the lock itself depends on its encryption and physical build quality, not the auto-lock setting.
The Simple Switch to a More Secure Life
That feeling of dread about an unlocked door can now be a thing of the past. By taking a few minutes to learn how to enable auto lock feature, you are fundamentally upgrading your home’s security posture. It’s a small, simple change in a settings menu that provides an enormous return in day-to-day peace of mind. You’re not just buying a gadget; you’re investing in a system that actively works to keep your home and family safe, even when you’re rushed, distracted, or simply forget. Welcome to the smarter, safer, and more convenient world of modern security.