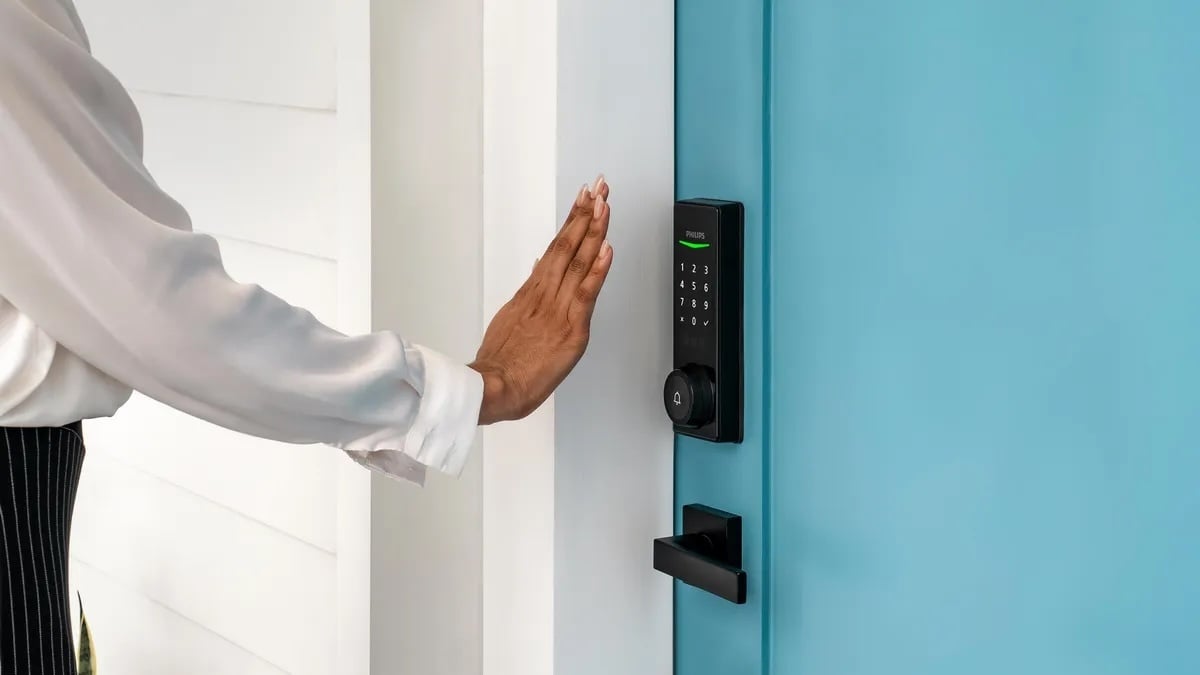
There’s nothing quite like the sleek, satisfying click of a smart lock securing your home. But what happens when that click turns into a groan, a jam, or a frustrating error message? We’ve all been there. You rush out the door, tap your phone to lock up, and get that dreaded notification: “Lock Jammed.” Your heart sinks. Is the door actually locked? Is my home secure? More often than not, the culprit isn’t a major failure but a simple misalignment. Learning How To Calibrate Smart Lock Deadbolt mechanisms is one of the most crucial, yet overlooked, skills for any smart home owner. It’s the key to turning a frustrating piece of tech into a reliable guardian for your home, and this guide will walk you through it, step by step.
Why Does My Smart Lock Even Need Calibration?
That’s a fair question. You installed it, it worked, so why the sudden fuss? Think of it like teaching a new employee the ropes. When you first install a smart lock, it doesn’t know anything about your specific door. It needs to learn. This learning process is called “calibration” or “door handing.”
During calibration, the smart lock’s motor extends and retracts the deadbolt to measure a few critical things:
- The direction to turn: It needs to know which way is “lock” and which is “unlock” for your door (whether it’s a left-hand or right-hand door).
- The friction and travel distance: It measures how much force is needed to move the bolt and exactly how far it needs to travel to be fully extended into the door frame and fully retracted into the door.
- The exact locked and unlocked positions: It creates a digital map of these points so it can confirm a successful operation every single time.
Without this initial map, the lock is just guessing. Changes in temperature causing your door frame to swell or shrink, a new weatherstrip, or even batteries running low can throw off this delicate calculation, leading to jams and errors.
Before You Begin: A Quick Pre-Calibration Checklist
Before you jump into the calibration process itself, let’s save you a potential headache. Running through this quick checklist can solve the problem 90% of the time without even needing a full recalibration.
- Check the Batteries: This is the number one cause of a sluggish or failing smart lock. Low power means the motor doesn’t have enough juice to fully throw the deadbolt. Replace them with a fresh set of high-quality, non-rechargeable alkaline batteries.
- Test Manually: With the door open, turn the thumbturn on the inside. Does the deadbolt extend and retract smoothly? Now, close the door and do the same. If you feel resistance or have to push or pull the door to get it to lock, you have an alignment problem, not a calibration problem.
- Inspect the Strike Plate: Look at the hole in your door frame where the deadbolt goes. Is it aligned perfectly? Sometimes, the bolt hits the edge of the plate instead of sliding smoothly into the hole. You may need to file the hole slightly larger or reposition the strike plate.
- Tighten All Screws: Loose mounting screws can cause the lock to shift, misaligning the bolt. Give them all a gentle tightening.
If everything on this list checks out, then it’s time to move on to the main event.
How to Calibrate Smart Lock Deadbolt: The Step-by-Step Process
While the exact steps can vary slightly between brands like August, Schlage, Yale, or Wyze, the underlying principle is the same. The goal is to trigger the lock’s “learning mode.” Most modern locks initiate this process automatically upon first installation, but you can trigger it manually as well.
Here is a general guide that applies to most models:
- Start with the Door Open: This is critical. Calibrating with the door closed can lead to the lock learning the incorrect amount of friction from the strike plate. Keep your door open throughout the entire process.
- Ensure the Deadbolt is Retracted: Make sure the bolt is fully inside the door (unlocked position) before you begin.
- Initiate the Calibration or Handing Sequence: This is the brand-specific part. Check your user manual, but it’s usually one of the following:
- App-Based Calibration: Open your smart lock’s app on your phone. Go to the lock’s settings and look for an option like “Calibrate Lock,” “Redo Door Handing,” or “Smart Lock Setup.” Follow the in-app prompts.
- Button-Based Calibration: Some locks have a small button on the interior assembly. You may need to press and hold it for a few seconds, or remove and reinsert the battery pack to trigger the process.
- Automatic Calibration: For many models, simply taking out the battery pack for 30 seconds and then re-inserting it will automatically start the calibration cycle.
- Do Not Touch the Lock: Once the process begins, you will hear the motor whirring. The deadbolt will extend fully and then retract fully, sometimes a couple of times. It’s measuring and learning. Resist the urge to touch it or the door. Let it complete its cycle uninterrupted.
- Test for Success: Once the motor stops, the lock should be calibrated. Test it!
- First, use the thumbturn on the inside to lock and unlock it. It should feel smooth.
- Next, use the app or keypad to lock and unlock it while the door is still open.
- Finally, close the door and test it again. The lock and unlock operations should be clean, quick, and without any grinding or jamming sounds.
If it works perfectly, congratulations! You’ve successfully learned how to calibrate smart lock deadbolt hardware.
|
Our Picks for the Best Smartlocks in 2026
As an Amazon Associate I earn from qualifying purchases.
|
||
| Num | Product | Action |
|---|---|---|
| 1 | Keypad Smart Door Lock with Knob, Yamiry Keyless Entry Digital Lock with Handle, Fingerprint Electronic Knob for Front Door, Generate Passcode Remotely, Easy Installation |

|
| 2 | Keyless Entry Fingerprint Smart Lock with Handle & Keypad: Sifely Biometric Digital Electronic Lock with Code, Electric Deadbolt Door Knob for Front, Interior, Exterior & Bedroom Doors (Silver) |
|
| 3 | Smart Keypad Door Lock with Handle: NICE DIGI Keyless Entry Digital Lock for Front/Interior Door, Electronic Code Knob, Easy Installation |
|
| 4 | Kwikset Powerbolt 250 10-Button Keypad Satin Nickel Transitional Electronic Deadbolt Door Lock, Featuring Convenient Keyless Entry, Customizable User Codes, Auto Locking |
|
| 5 | ULTRALOQ U-Bolt Pro WiFi Smart Lock with Door Sensor, 8-in-1 Keyless Entry Door Lock with Fingerprint ID, App Remote Control, Built-in WiFi Keypad Deadbolt, Auto Unlock, IP65 Waterproof, Easy Install |
|
| 6 | Schlage Encode Smart WiFi Deadbolt Lock for Front Door - Keyless Entry with App or Touchscreen - Works with Alexa, Hey Google, & Airbnb - Create Codes for Guests - Satin Nickel Silver |
|
| 7 | Keypad & Key Smart Door Lock, 50 User Codes, Waterproof, Auto Lock - Matte Black |
|
| 8 | Yale Security Assure Lock 2 Deadbolt, Black Suede Keyed Smart Entry Door Lock with Wi-Fi Connected Keypad for Code Entry and Remote Access, YRD410-WF1-BSP |
|
| 9 | TEEHO TE001 Keyless Entry Door Lock with Keypad - Smart Deadbolt Lock for Front Door with 2 Keys - Auto Lock - Easy Installation - Matte Black |
|
| 10 | Schlage Encode Plus Smart Wi-Fi Lock for Front Door, Keyless Entry Deadbolt, Unlock with Apple Watch, Built-in WiFi and App Control, Easy Install, Alexa & Apple HomeKit Compatible, Matte Black |
|
Security Expert Insight
“A common mistake homeowners make is focusing purely on the digital side—the app, the Wi-Fi connection—while neglecting the physical mechanics,” notes David Chen, a certified high-tech locksmith and smart security consultant. “Proper physical alignment and regular calibration are the foundation of a reliable smart lock. A miscalibrated lock isn’t just an inconvenience; it’s a potential security gap.”
Advanced Troubleshooting: What If It Still Doesn’t Work?
If you’ve followed the steps and the lock still jams when the door is closed, your issue is almost certainly physical alignment. The calibration process can’t fix a problem where the bolt physically can’t enter the hole.
- The Lipstick Test: This is an old locksmith’s trick. Put a bit of lipstick or marker on the very end of the deadbolt. Close the door and try to lock it. Now open the door and look at the strike plate. The mark will show you exactly where the bolt is hitting—high, low, or to the side. Adjust the strike plate accordingly.
- Check for a Warped Door: Seasonal weather changes can cause wooden doors to warp. This can be tough to fix, but sometimes tightening the door’s hinge screws can help pull it back into alignment.
- Perform a Factory Reset: As a last resort, you can perform a full factory reset on the lock. This will erase all user codes and settings, including its network connection, and force it to start completely fresh. After the reset, you will need to re-add it to your app and it will trigger the initial calibration process automatically.
Integrating Calibration into Your Smart Home Ecosystem
A properly calibrated lock is more than just a convenience; it’s a linchpin of your entire smart home security system. When your lock reports its status accurately, your automations work flawlessly.
Imagine these scenarios, all dependent on accurate calibration:
- An automation that turns off all the lights, adjusts the thermostat, and arms the security system the moment your door reports “Locked.”
- Receiving a reliable notification on your phone that the door has been unlocked, letting you know the kids are home from school.
- Asking your voice assistant, “Hey Google, is the front door locked?” and getting a trustworthy answer.
If the lock is miscalibrated and falsely reports a “Jammed” status, these automations can fail, leaving your home less secure and your smart home experience a frustrating mess. That’s why knowing how to calibrate smart lock deadbolt technology is a fundamental part of [living in a truly connected home].
Frequently Asked Questions (FAQ)
Q: How often should I calibrate my smart lock?
A: You don’t need to do it on a set schedule. You should recalibrate your lock whenever you notice performance issues, after you change the batteries, or if you’ve made any physical adjustments to your door or its frame, such as installing new weather stripping.
Q: Can I calibrate my smart lock deadbolt without the app?
A: It depends on the model. Many locks can be calibrated by removing and reinserting the battery pack or by pressing a specific button on the interior housing. However, using the app is often the easiest and most reliable method.
Q: What does ‘door handing’ mean for a smart lock?
A: ‘Door handing’ is the industry term for the calibration process where the lock determines if your door is right-handed or left-handed. This tells the motor which direction to turn to extend (lock) and retract (unlock) the deadbolt correctly.
Q: Will a factory reset also calibrate my lock?
A: Yes, in a way. A factory reset will wipe the lock’s memory completely. When you set it up again from scratch, it will be forced to run the initial door handing and calibration process as if it were a brand-new installation.
Q: My smart lock makes a grinding noise. Is this a calibration issue?
A: It could be. A grinding or straining noise often indicates the motor is working too hard because of physical resistance. This is usually caused by a misalignment between the bolt and the strike plate. Perform the pre-calibration checklist first, and if that doesn’t solve it, a recalibration is the next best step.
The Key to Peace of Mind
Mastering the simple process of how to calibrate smart lock deadbolt systems transforms you from a user into a confident smart home owner. It’s a five-minute task that ensures the reliability, security, and longevity of one of your home’s most important devices. By ensuring your lock operates with mechanical precision, you unlock the full potential of its smart features, giving you the seamless convenience and, most importantly, the profound peace of mind you invested in from the start. So next time your lock acts up, don’t get frustrated—get calibrating.